Note
Access to this page requires authorization. You can try signing in or changing directories.
Access to this page requires authorization. You can try changing directories.
The Fabric API for GraphQL provides a graphical in-browser GraphQL development environment, which enables an interactive playground to compose, test, and see the live results of your GraphQL queries and mutations.
To go to the editor, open the API for GraphQL item from its workspace in Fabric and select Query in the lower-left corner of your portal screen.
Type and execute GraphQL queries directly on the Query tab. Intellisense capabilities are available with a keyboard shortcut: CTRL + Space (Windows), or Command + Space (macOS). Select Run to execute the query and retrieve data from the data source.
Generate code
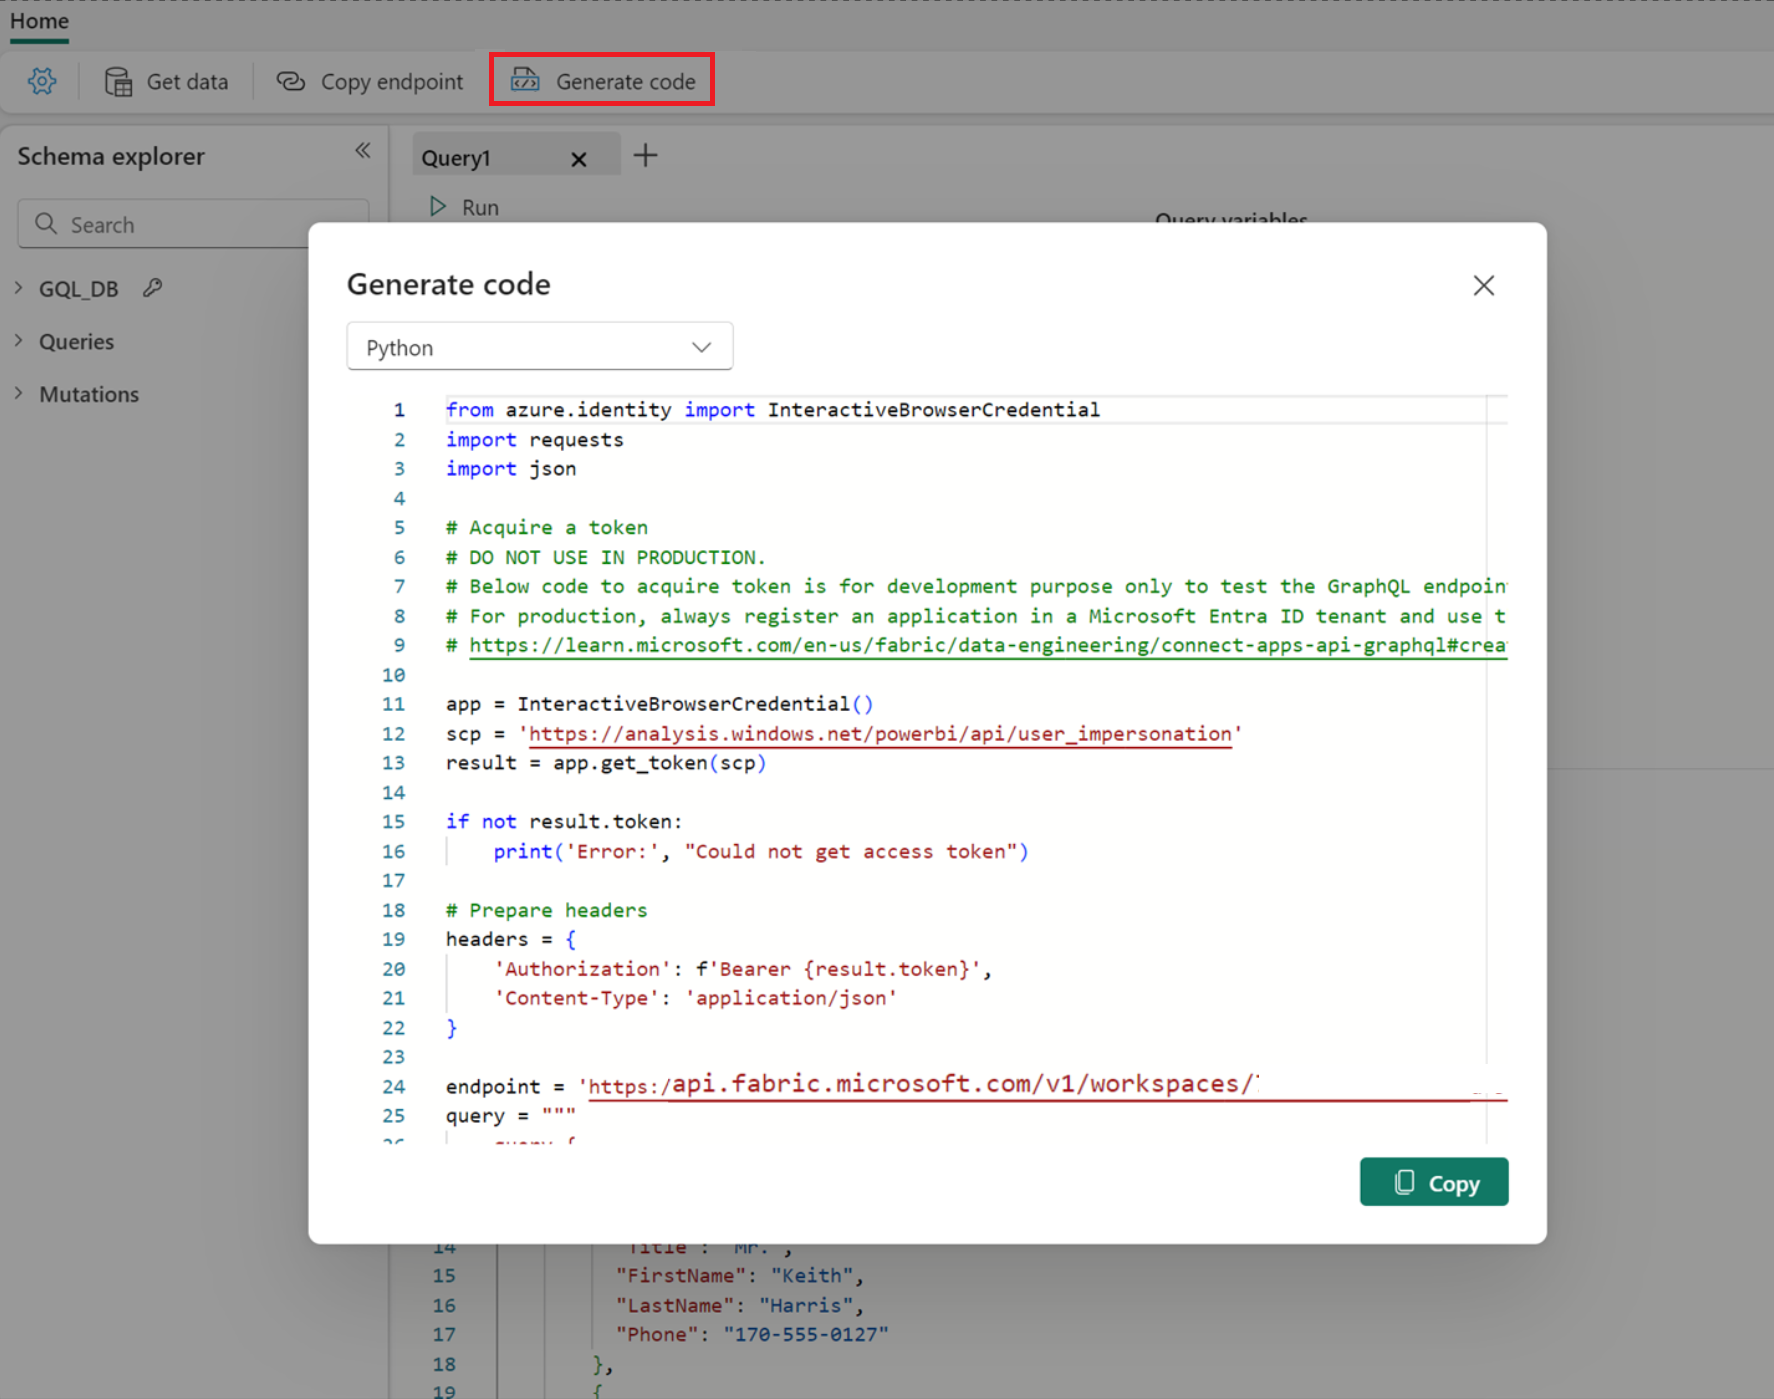
After testing and prototyping the desired GraphQL operation, the API editor generates boilerplate Python or Node.js code based on the query or mutation executed in the editor. You can run the generated code locally for testing purposes and reuse parts of it in the application development process.
Important
The generated code uses interactive browser credentials and should be used for testing purposes only. In production, always register an application in Microsoft Entra and use the appropriate client_id and scopes. You can find an end-to-end example with sample code at Connect Applications.
To get started, execute a query, select the Generate code button, and choose the language accordingly:
You can then copy the generated code and save it as a file in a local folder. Depending on the chosen language, follow these simple steps to test locally:
Python
Create a virtual environment by running the command
python -m venv .venv.Activate the
venvby running.venv\Scripts\activateorsource .venv/bin/activate.Install the required dependency by running
pip install azure.identity.Execute the code with
python <filename.py>.
Node.JS
In the same folder as the file you saved, create a
package.jsonfile with the following content:{ "type": "module", "dependencies": {} }Run
npm install --save @azure/identityor a similar command in your chosen package manager to install the latest version of the identity library.Execute the code with
node <filename>.js.
Development of queries and mutations
Review this short GraphQL schema. It defines a single Post type with queries to read a single post or list all posts, and mutations to create, update, or delete posts, supporting all CRUDL (create, read, update, delete, list) use cases.
{
  type Post {
    id: ID!
    published: Boolean
  }

  type Query {
    getPost(id: ID!): Post
    getAllPosts: [Post]
  }

  type Mutation {
    createPost(title: String!, content: String!, author: String!): Post
    updatePost(id: ID!, title: String, content: String, author: String, published: Boolean): Post
    deletePost(id: ID!): Boolean
  }
}
Read the data exposed via GraphQL using any query defined in the schema. The getPost query looks like this example.
query MyQuery {
  getPost(id: "1234") {
    title
    content
    author
  }
}
Response:
{
  "data": {
    "getPost": {
      "title": "First Post",
      "content": "This is my first post.",
      "author": "Jane Doe"
    }
  }
}
Use mutations like createPost to write data and create a post with the required parameters.
mutation MyMutation {
  createPost(title: "Second post", content: "This is my second post", author: "Jane Doe", published: false) {
    id
    title
    content
    author
  }
}
Response:
{
  "data": {
    "createPost": {
      "id": "5678",
      "title": "Second Post",
      "content": "This is my second post.",
      "author": "Jane Doe"
    }
  }
}
Query variables
Use the Query variables pane on the right side of the Query tab to pass parameters as variables to your queries or mutations. Variables work like variables in other programming languages. Each variable is declared with a name used to access the value stored in it. Using the previous mutation example, you modify it slightly to use query variables.
mutation MyMutation ($title: String!, $content: String!, $author: String!){
  createPost(title: $title, content: $content, author: $author) {
    id
    title
    content
    author
  }
}
Define variables in the pane using the following example.
{
  "id": "5678",
  "title": "Second Post",
  "content": "This is my second post.",
  "author": "Jane Doe"
}
Variables make the mutation code cleaner, easier to read, test, and modify.


