Note
Access to this page requires authorization. You can try signing in or changing directories.
Access to this page requires authorization. You can try changing directories.
This article describes how to set alerts on OneLake events in Real-Time hub.
Note
Consuming Fabric and Azure events via Eventstream or Fabric Activator isn't supported if the capacity region of the Eventstream or Activator is in the following regions: West India, Israel Central, Korea Central, Qatar Central, Singapore, UAE Central, Spain Central, Brazil Southeast, Central US, South Central US, West US 2, West US 3.
Navigate to Real-Time hub
Sign in to Microsoft Fabric.
If you see Power BI at the bottom-left of the page, switch to the Fabric workload by selecting Power BI and then by selecting Fabric.

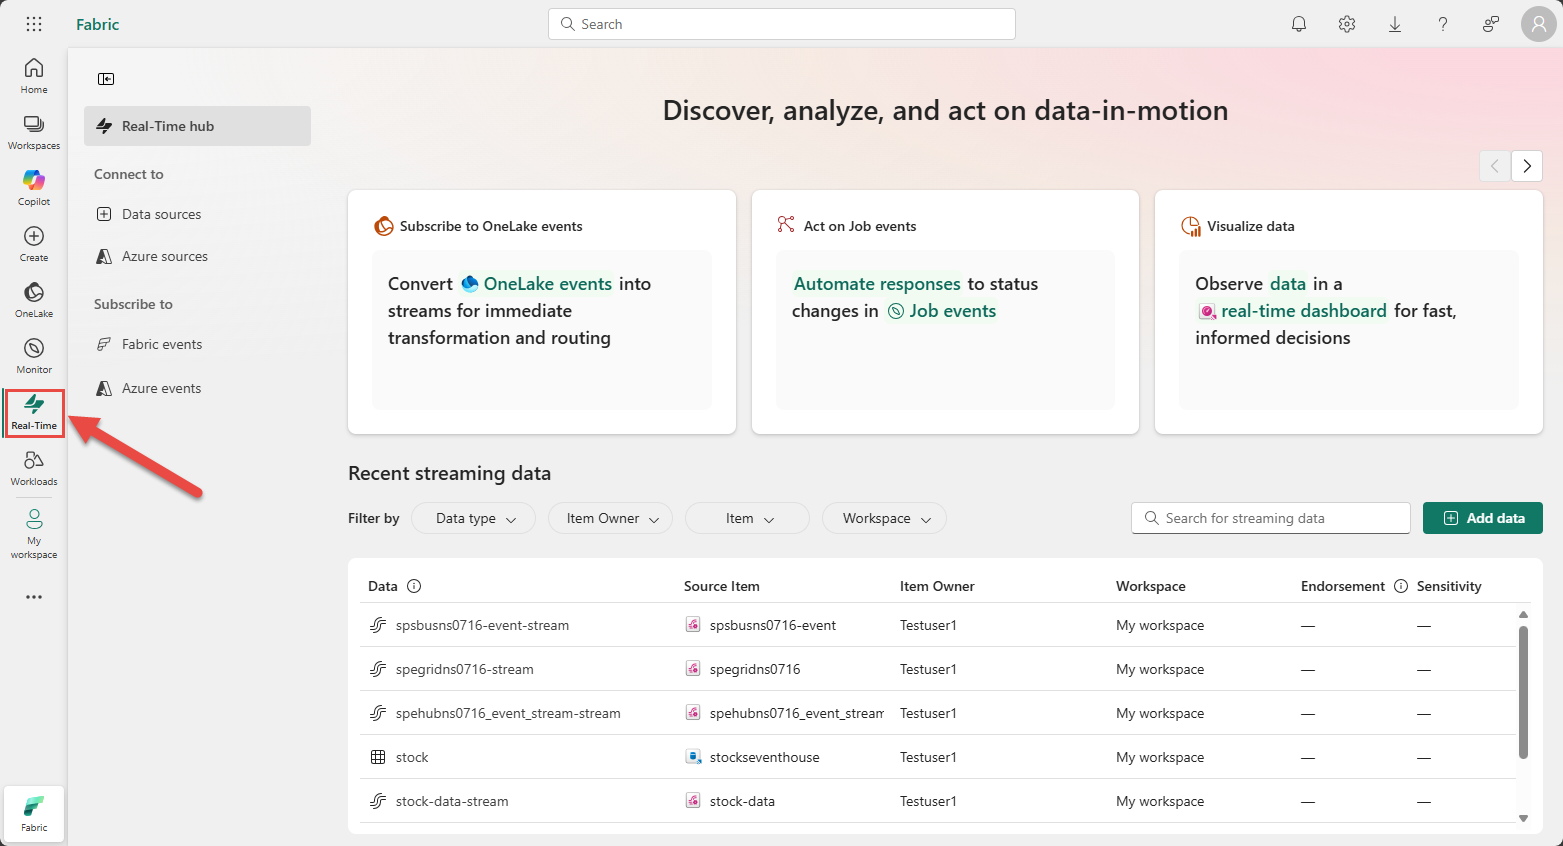
Select Real-Time on the left navigation bar.
Launch the Set alert page
Do steps from one of the following sections, which opens a side panel where you can configure the following options:
- Events you want to monitor.
- Conditions you want to look for in the events.
- Action you want Activator to take.
Using the events list
- In Real-Time hub, select Fabric events.
- Move the mouse over OneLake events, and do one of the following steps:
Using the event detail page
Select OneLake events from the list see the detail page.
On the detail page, select Set alert button at the top of page.
Set alert for OneLake events
On the Set alert page, follow these steps:
In the Monitor section, choose Select events.
In the Connect data source wizard, do these steps:
For Event types, select event types that you want to monitor.
Select Add a OneLake source button in the Select data source for events section.
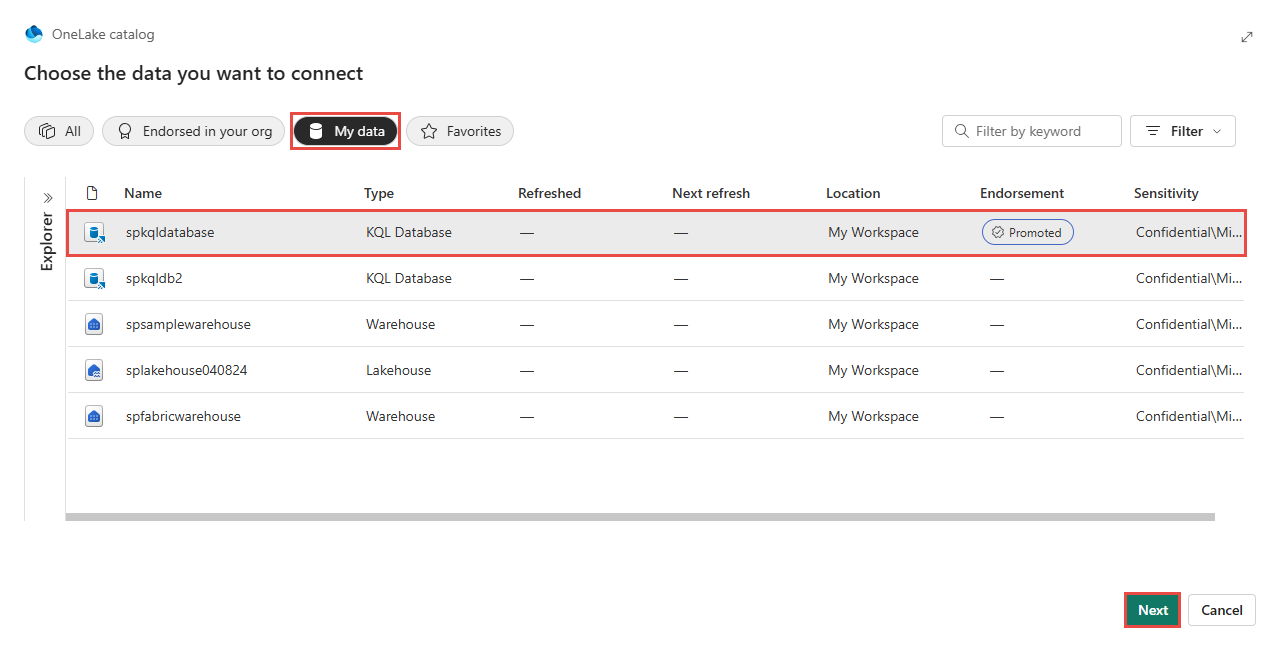
On the Choose the data you want to connect page:
View all available data sources or only your data sources (My data) or your favorite data sources by using the category buttons at the top. You can use the Filter by keyword text box to search for a specific source. You can also use the Filter button to filter based on the type of the resource (KQL Database, Lakehouse, SQL Database, Warehouse). The following example uses the My data option.
Select the data source from the list.
Select Next at the bottom of the page.
Select all tables or a specific table that you're interested in, and then select Add.
Note
OneLake events are supported for data in OneLake. However, events for data in OneLake via shortcuts aren't yet available.
Now, on the Configure connection settings page, you can add filters to set the filter conditions by selecting fields to watch and the alert value. To add a filter:
Select Next at the bottom of the page.
On the Review + connect page, review the settings, and select Save.

For Condition, confirm that On each event is selected.
For Action, select one of the following options:
- To receive an email when the event occurs and the condition is met, select Send me an email.
- To receive notification via Teams, select Message me in Teams.
- To run a Fabric item, select Run a Fabric item.
In the Save location section, do these steps:
- For Workspace, select the workspace where you want to save the alert.
- For Activator item, select an existing Activator item or create an Activator item for this alert.
Select Create at the bottom of the page to create the alert.


